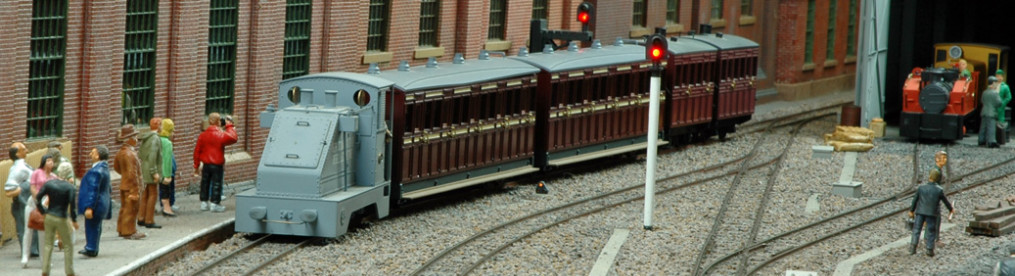
S&D Models Dick Kerr:
I have had an S&D Models Dick Kerr petrol-electric loco body kit for some years and thought this would make an interesting addition to the motive power for Tony’s Wood. I was impressed with the quality of the Bullant chassis used under the Wrightlines Ruston locos and decided to order one for this loco.

S&D Models Dick Kerr body on a BullAnt chassis
Assembly was straight-forward apart from my melting one of the supports for the cross bar below the front buffer beam. Fitting the chassis was a bit of a challenge as I had (stupidly) asked for a pivoting mount rather than a fixed mount! I want to install an interior to the cab and a representation of the controls which I will probably do in a mixture of plastic sheet, wire and whitemetal accessories.
The Dick Kerr petrol-electric locomotives were built for the UK War Department Light Railways (WDLR) for use in World War 1. The wheels are a tad small, but overall I am very pleased with the way this is going together.
I wanted to install an interior to the cab and a representation of the controls which caused this project to stall. However, I had one of these locos in O16.5 and it proved simple to convert to O14 when Mark Clarke (Locos n stuff) brought out a 3d printed chassis kit.
Here is a poor video of the first test run, I found it hard to hold both the phone and controller at the same time! It is a bit noisy but it got quieter after a bit of running in.
Worsley Works Dick Kerr:
Mark Clarke (Locos n stuff) had built one of the WDLR Dick Kerr petrol electric locos using the Worsley Works “scratch-aid” etch. He offered it for sale and built a 14mm gauge chassis for it. He had done a beautiful job of assembling the kit and had added his own 3d printed axleboxes. I started painting it but realised it looked a bit “flat” and featureless when compared to a similar built by Larry Knapp.

I stripped the paint and added a few details inspired by Larry’s model. He very kindly sent me a 3d cad file for the radiator supports while other details were added from wire, metal strip or plastic sections.

I found that the front of the frames and the radiator were a bit short compared to the excellent drawing in Roy Link’s WDLR Album. I didn’t want to spoil the beautify construction of the body so I accepted the compromise and added my details.


It now has a few more details to break up the flat looking sides. I didn’t add the prominent lifting frame as I figured it would have been removed by the 1950’s time period of my model. It will be finished in my usual “neglected” fashion!
I realised from the photos that I would have to do something about the white chassis visible behind the wheels. It was also pointed out to me that the wheels would have to look a lot dirtier given the state of the body. After some consideration over how to do this without disturbing the pick-ups I found that the plastic centred Scale Link wheels were easy to remove. This made life much easier as I could paint the chassis and also weather the wheels without getting paint or dirt on the wheel rims of pick-ups.
The addition of a driver in the cab doorway completed the model. Whilst it runs well, it does have a high pitched squeal in one direction which I think is due to a rough part of one end of a worm on the lay shaft rubbing against the 3d printed chassis. I can’t get to the part so I will have to put up with it unless it goes away with use. I suspect that you won’t be able to hear it at an exhibition when there is quite a lot of background noise.