Landscape
With the track and electrics finally sorted I started on a bit of the ground forming, which gave me a very positive feel that I was finally making progress!

Corrugated card formers with an approximate land profile were glued in position using a hot glue gun to speed up the whole process (as the glue sets very quickly).


This was followed by a lattice of card strips again fixed with the hot glue gun.

The lattice was covered in neat PVA, followed by kitchen towel which was then soaked in diluted PVA and left to dry. I only did a couple of layers of kitchen towel as I was going to add a further layer of landscape forming using Sculptamold (from EDM Models) which would smooth out some of the bumps.

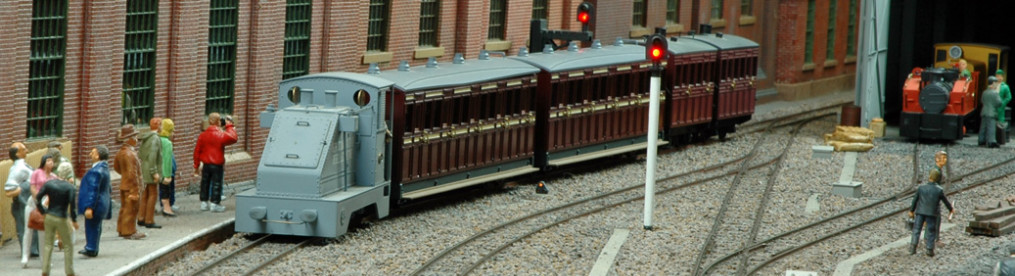
Here is the landscape in front of the station area. The white bit is still to be developed and will be a stream and pool/pond. I have a Wills culvert somewhere but can I find it? Of course not!
I intended to use some rock moldings for the quarry line and I thought it would be easier to mount these against polystyrene rather than a lattice of card. The rocks were cast in Woodland Scenics lightweight Hydrocal using Woodland Scenics molds.


Due to poor planning space is at a premium, so I had to glue thin rock mouldings to the baseboard side.

The gaps between to mouldings was filled with Sculptamold (from EDM Models).

I made a start on the hillside behind the station while waiting for the quarry board to set. My intention is to fill the hillside with trees and I hope that the landscape base will be strong enough.

This gives an overall impression and I am hoping that all the trees will break the view up enough.

Finished landscaping on the quarry loco shed spur. A very basic hut will sit over the track and pretty much fill up the space. I know it looks a bit contrived, but my excuse will be that they found some useful stone there so it got quarried while they were digging the route for the track bed.

I realised that I needed to add the backscene before I made too much progress with the scenery. This used a 15 inch high photo printed image (201B Forest Hills) from id Backscenes and came in two 5 ft long sections. I wish I had thought about this before I started as each board backscene is longer than 5 ft so I have had to make a number of joints. Also My backscene is in some places higher than 15 inches!

This has required a bit of cutting and pasting of vague sections of tree or countryside.

I wanted to give the impression of the railway coming up the valley before switching back on itself to carry on further up the valley, hence all the trees over where the quarry will be and the skyline falling towards the track. The only problem was the other end of the scene which had no forest, so I had to do more cutting and pasting to add some in (and to fill the space below the main backscene which was not deep enough). This photo is an experiment using the panoramic setting on the camera – this does distort things a bit but you should get the overall idea.

Thoughts turned to the stream that I envisage running down the forest bank and under the station area. I had a couple of photos of the sort of thing I had in mind so set to work with an assortment of small stones that I acquired about 30 years ago!

I knew what I wanted but wasn’t too sure I was going about it in the right way. A bit of filler – in this case Sculptamold and a bit of Woodland Scenics liquid pigment made all the difference. I was so pleased that I also tried painting the rock face at the end of the line.

Overall I am pleased with the way this turned out.

I’ve added a bit of structure to the water using acrylic structure gel which I find very controllable and doesn’t crack (or hasn’t yet). I could’t get quite the texture I wanted as gravity and access were working against me! A quick highlight with some white paint produced a result that I was pleased with and one that I didn’t think I improve on. So I have left well alone until I add some of the green undergrowth which should tone down the rather stark crack in the landscape. As usual, I could visualize what I wanted in my mind but I suspected that I hadn’t the ability to achieve it!
With the basic landscaping finished, I could move on to adding the scenery and really start bringing the layout to life.
There are more construction photos on the Landscape Gallery page
Click here to move on to the Scenery page
or