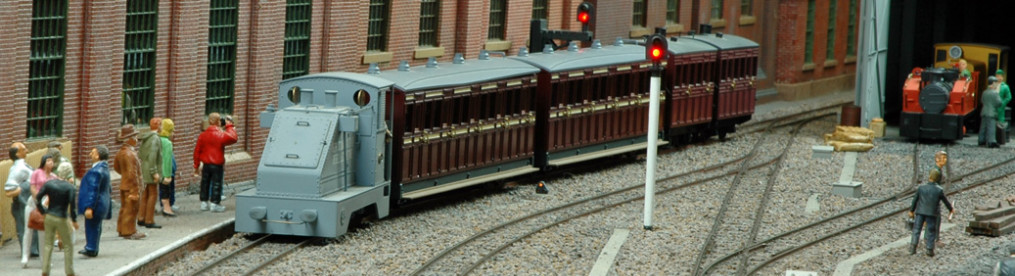
Wrightlines de Winton 0-4-0VB
Whilst browsing Mark Clarke’s Locos n Stuff web site I saw he had obtained a motor/drive unit that he said may suit a 7mm scale de Winton. I was intrigued as I had a Wrightlines kit and was looking for a 14mm gauge chassis option so I asked him if he had any thoughts on a suitable chassis. He had some thoughts but lacked a kit to see what would work – I sent him mine which he used to develop the chassis.
A major advantage for me was that Mark built some of the kit with some very neat soldering and assembled the cranks and rods.
Mark fitted a copper strip around the top of the boiler from a 1.5mm wire ring soldered on and filed flat. This raised the top of the boiler for motor clearance without moving any of the boiler mounting points.
The gearbox is around 80:1 ratio in 4 stages, the motor is 7.5v and requires a ballast resistor. The center of the boiler base needs removing to fit the motor through. The kit uses a tube through the boiler that fits into a central holder at the base to represent the chimney, as the motor is in the way, the chimney tube will need shortening to be just the visible part above the boiler. Mark can make these to order but RTR only and the buyer will need to sort out the cranks and rods. At a later date he can draw rods, cranks and a crank setting jig to assemble it all but not until after the lock down as the etchers are closed for the duration. The chassis would be supplied with extended axles but no rods or cranks.
I found that, because the chassis block is of necessity quite narrow, the body wasn’t very stable on it and wobbled from side to side when test running it. I tried a couple of small blobs of Blue Tack which improved things before I realised that I could drill up through the chassis block into the coal bunker for a nut and bolt fixing. The motor appears to need a higher voltage to get it going and hums a bit if you leave the voltage too low. You can wind down the voltage once it gets going. I have found this in the past with other motor gearbox combinations and I think I will soon get used to it. I also suspect it will get better with running in. As with most of my locos, it appears to run quieter in one direction than the other!

I thought it would be nice to keep the valve gear as intended for the static model but I had to add in a stabilising wire underneath rather than rely on the casting to sit on the axle. The inside chassis frames limit how much of the connecting rods extend below the footplate but I think it gives enough of an impression, especially given that the crossheads don’t move.

I was worried about the clearance between the motor and the boiler top so I carefully carved a bit out from the underside of the boiler top. I glued in a layer of tissue to insulate the top of the motor from the boiler top so there is no risk of the motor pick-up wire contacts shorting out.
One mod I did make to the kit castings was to wrap some thread around the steam feed pipe before fitting it to represent the lagging or insulation. I fixed the ends with super glue before running over the rest to lock it all in place.
I have to say that I am very pleased with how this loco has turned out and look forward to when I can run it at an exhibition.

Running trials at the first couple of ‘post-lockdown’ exhibitions were a bit mixed as the loco ran much better in one direction and slow speed shunting/uncoupling proved a bit of a challenge. About the same time I started experimenting with EDM Models drive units and I thought “I wonder if one of these would fit in a de Winton chassis”. It would mean actually doing a bit of scratch-building for the first time in about 30 years but it looked straight-forward enough.


Paul’s gearboxes come ready for an 1/8 inch axle but I want 2mm axles for this chassis. Fortunately Mark Clarke (Locos n stuff) does some ‘fat’ 2mm bore bushes where the outer diameter is the same as an 1/8 inch bush. I’ve put a 2mm to 1/8 inch adapter sleeve in the gear which will be retained by Loctite. The chassis is just screwed together as the top hat bushes trap the gearbox.

Quite some time ago I acquired a Wrightlines de Winton kit for a very attractive price. At the time I thought the price reflected the fact the the castings had been partially cleaned in a rather poor fashion. However, when I looked at it recently I realized that the cast brass cranks and coupling rods were missing so I thought I should try making my own. Then Locos n stuff released their outside crank etch which presented a far easier solution.
I was a bit disappointed that, as I have built it, it won’t fit my existing de Winton as that chassis was packed away from the body to clear the top of the motor from the boiler. I was very happy with it and decided to build another but this time suitability trimmed down to fit my already completed loco.

I decided to give the cranks a go this time and used standard Romford/Markits crankpins as these have 1mm diameter shanks which better suit the fine rods of the prototype.

Chassis for my existing de Winton is now complete and is probably the quickest scratch build I have achieved. Of course repeating what I had already done but without the mistakes helped. This one was a bit more complex in that the top of the frames had to have the cut-outs at each end to clear the packing pieces in the body that were required by the original chassis. This brings the body down to a more prototypical height and I think improves the overall look.


It entered service at Narrow Gauge South in April 2022 and has proved to be a very good runner. It is one of my “go to” locos and is often seen in service and in videos.