Neil Sayer Baldwin 50hp Gas Mechanical
In the build up to Christmas at the end of 2020 I thought I would make a start on a Neil Sayer Baldwin 50hp gas mechanical. Despite being in Covid Tier 3 I still found many non-modelling things to occupy my time during the festive period so progress was slow until full lockdown in January 2021.
I had assembled the gearbox, motor and wheels but a test run revealed a bent axle. I don’t know if it was already bent or if my handling of it to push the fixed wheel in a bit more (for 14mm gauge) and then pushing on the other wheel had caused it to bend. I checked the other axle and found that was bent as well. Fortunately I had some 2mm steel rod in stock which was straight and 0.1mm larger diameter so refitting the wheels and gear could still be done without everything being too loose. I am glad that I noticed the problem as I would have had real problems when I came to fit the outside cranks!

It is a well thought out kit but many of the parts are small fabrications from etched brass and I found them very fiddly! One area that I really struggled with was the pick-ups. One side is live which is okay, the other side has an etched strip which is intended to wipe the back of the wheel rims. Space is tight and I just couldn’t get this to work properly. My eventual solution was to bend this strip over its fixing bolt so that it now wipes on the wheel tread rather than the back of the rim. It was really fiddly to fit as space is so tight but so far seems to be working acceptably.

I found that one of the plastic outside cranks was cracked and I had heard that others had encountered similar problems after assembly. While Neil is more than happy to provide replacements I thought I would try to use the existing plastic cranks but sleeved with brass top hat bearings. At the time I could only find some ‘fat’ bushes and I had to be very careful that I was not only drilling the plastic cranks concentrically but also square. They are held on the axles with Loctite. I have done this with success on a couple of Branchlines chassis for the Peco Hunslet so I wasn’t expecting any problems with quartering.
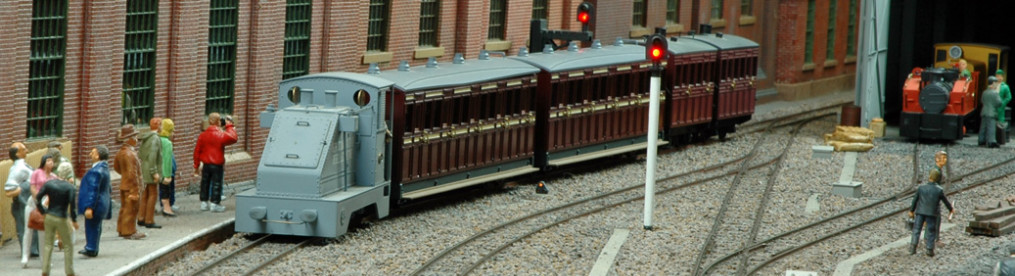
I have to admit that I am very pleased with this loco and it should make a very welcome change to operations on Tony’s Forest. I haven’t been able to test it on the layout yet as I need the weather to improve before I can temporarily set the layout up in the garage. However, I did take this rather poor video of it being tested on the rolling road:
I should have added that it has a wonky wheel which isn’t helped by the fly cranks. It probably moves pretty much as I remember see on the real thing!
Fast forward to 2022 when exhibitions started up again and I found that the operation wasn’t up to my expectations. After a lot of fettling – mainly due to my chassis building skills I got everything working but had broken one of the plastic cranks. I bit the bullet and cut some new ones out of brass strip. The axle and crank pin positions were jig drilled and Markits deluxe crank pins fitted. A bit more tweaking and it is now running better on the test track but I need to wait for warmer weather before I can test it on the layout. I will do this in preparation of the first show in 2023. In the meantime here is some video of the revised chassis under test:
You may have noticed that the driver has changed too. I was struggling to get the loco balanced so the whitemetal driver has been replaced with a 3d printed one from ModelU.
Despite numerous tests, the loco doesn’t perform as well as I had hoped on my layout. It is more than happy on both my own test track and the continuous run test track of the M5-M50 NGM Group. The problem appears to be a slightly wonky wheel in combination with my iffy track. It will generally run quite nicely until the random combination of a wide to gauge wheel and a narrow to gauge section of track. I have also discovered some areas where either the track spikes were not inserted properly or are somehow lifting themselves up. I need to go around with a file to reduce the interference. I suspect that a future layout with better track laying will resolve my problems.